A chandelier installation can be a straightforward replacement when the new fixture suits the existing support, wiring, and location. It becomes a different project when the fixture is heavier, the ceiling is higher, the electrical box must move, or the light needs a different control.
Before ordering, collect the fixture’s installation instructions, assembled weight, dimensions, and electrical specifications. A photograph of the fixture is useful for design, but it does not establish whether the ceiling can support it or whether the existing dimmer will work.
Confirm what supports the weight
The decorative canopy hides the connection to the ceiling. Behind it, the fixture may be supported by a rated electrical box, an approved bracket and brace, or a separate structural support arrangement described by the manufacturer. Drywall by itself is not an acceptable assumption about that support.
Electrical boxes have different uses and ratings. A box suitable for one light fixture is not automatically suitable for a much heavier chandelier or a rotating ceiling fan. RACO’s residential support products show that ratings can depend on the product and how it is installed. The electrician must verify the actual assembly.
An existing fixture hanging securely does not prove the mounting is adequate for its replacement. The new fixture’s total assembled weight matters, including shades, glass, decorative elements, and other parts fitted after the main body is hung.
For a heavy or unusually shaped fixture, agree on the support method before installation day. Access above the ceiling may be needed, and some designs require structural coordination. That work should be priced explicitly. Do not assume it is included in a simple fixture-swap allowance.
Set the position against the room layout
The center of a room is not always the right location for the light. In a dining area, the table’s intended position may be the useful reference. Above an island, consider the final cabinet dimensions, the work surface, and sight lines across the kitchen.
Decide the hanging height with the room’s actual use in mind. A fixture over a table has different clearance concerns from one above a walking path or stair. Consider the lowest decorative element, not just the main body. Taller household members, doors, nearby cabinets, and sloped ceilings can affect the choice.
A paper outline or measured mockup can help judge scale before the fixture arrives. Record the agreed location and drop. “Center it where it looks right” leaves an avoidable design decision until the installer is working from a ladder or lift.
If the electrical box must move, the job includes a cable route and a compliant connection method, not simply a longer mounting screw or an improvised hidden splice. Include repair of the old opening and any newly exposed surface in the lighting installation scope.
Match the fixture to the ceiling
Check whether the fixture accepts a sloped ceiling and what mounting kit it requires. Some designs hang on a chain, others use fixed or adjustable stems, and some suspend on several cables. The canopy needs to fit the mounting arrangement and cover the intended opening without concealing a problem.
Integrated LED fixtures need particular attention to where their driver fits and how it can be serviced. The driver is the component that supplies the LED with the electrical conditions it needs. A small canopy may not accommodate every proposed connection arrangement.
For a tall entry or stairwell, plan safe access for both installation and later maintenance. The estimate may need to include a lift, scaffold, protected floors, or removal of furniture. A fixture that is difficult to reach remains difficult to clean or repair after the installation is complete.
This is a useful point to compare a different design. A fixture with accessible replaceable parts may be easier to maintain than one whose light source requires removing the entire assembly.
Check actual wattage and dimming requirements
The number of lamps does not by itself establish the circuit load. Compare their actual electrical wattage and the fixture rating. An LED lamp’s incandescent-equivalent marketing description is not its electrical demand.
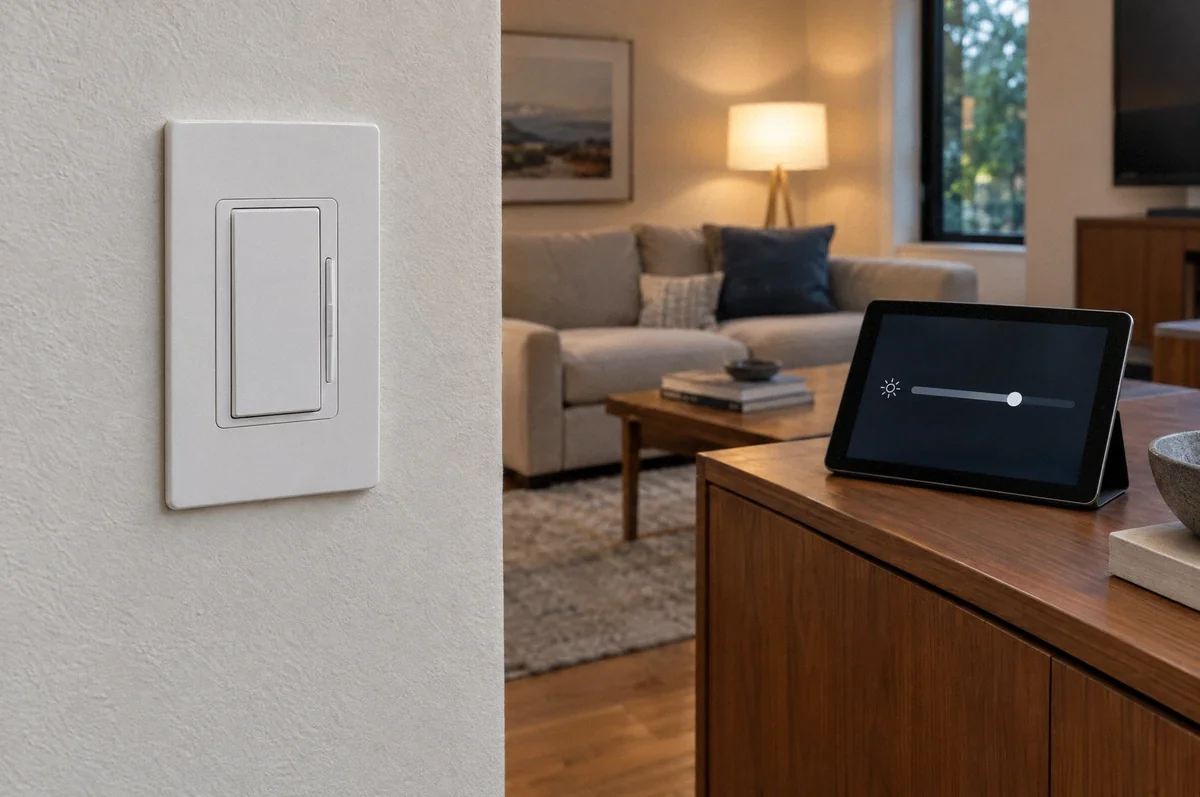
For dimming, verify the exact lamps or integrated driver and the chosen control. Some integrated fixtures use a specific dimming method. Others have restricted compatibility or a minimum level below which they do not behave well. A familiar wall paddle can conceal very different electronics.
Manufacturer compatibility information should guide the choice. Lutron’s load-control specifications, for example, distinguish LED, incandescent, electronic low-voltage, and other supported loads. That does not mean one dimmer covers all of them.
If several switches operate the light, review the full three-way or multi-location arrangement. For schedules or app control, consider the smart lighting system as part of the fixture decision.
Decide what stays and what changes
An installation estimate should make the following items clear:
- Whether the location stays the same or the ceiling box moves.
- Whether the existing support can be reused, subject to assessment.
- Who supplies the fixture, lamps, mounting accessories, and dimmer.
- Whether assembly of decorative components and disposal of the old fixture are included.
- What access equipment and surface protection are needed.
- Whether patching, texture matching, and painting are included or handled separately.
- Who confirms any applicable permit and inspection requirements.
Permit treatment can differ between a replacement and work that adds wiring or alters the structure. The city or county responsible for the address determines that path. A product’s listing and a contractor’s installation scope do not replace that review.
For a kitchen remodel, settle pendant locations with the cabinet drawings. For a room-wide lighting change, coordinate the chandelier with recessed lighting so the controls and brightness levels work together.
Inspect the delivered fixture before the appointment
Check that the product, finish, and mounting parts match the order. Keep the packaging until the fixture has been checked for damage and completeness. Missing stems, proprietary brackets, or broken glass can prevent completion even when the electrical work is ready.
Tell the installer about access restrictions, fragile floors, pets, and any furniture that cannot be moved. After the work, review the hanging position, dimming range, and operation from each control location. Keep the model information and installation manual with the home’s electrical records.
Request a fixture installation assessment with the product link, ceiling height, and photographs of the room. Those details help distinguish a replacement from a project needing new support, wiring, or access equipment.