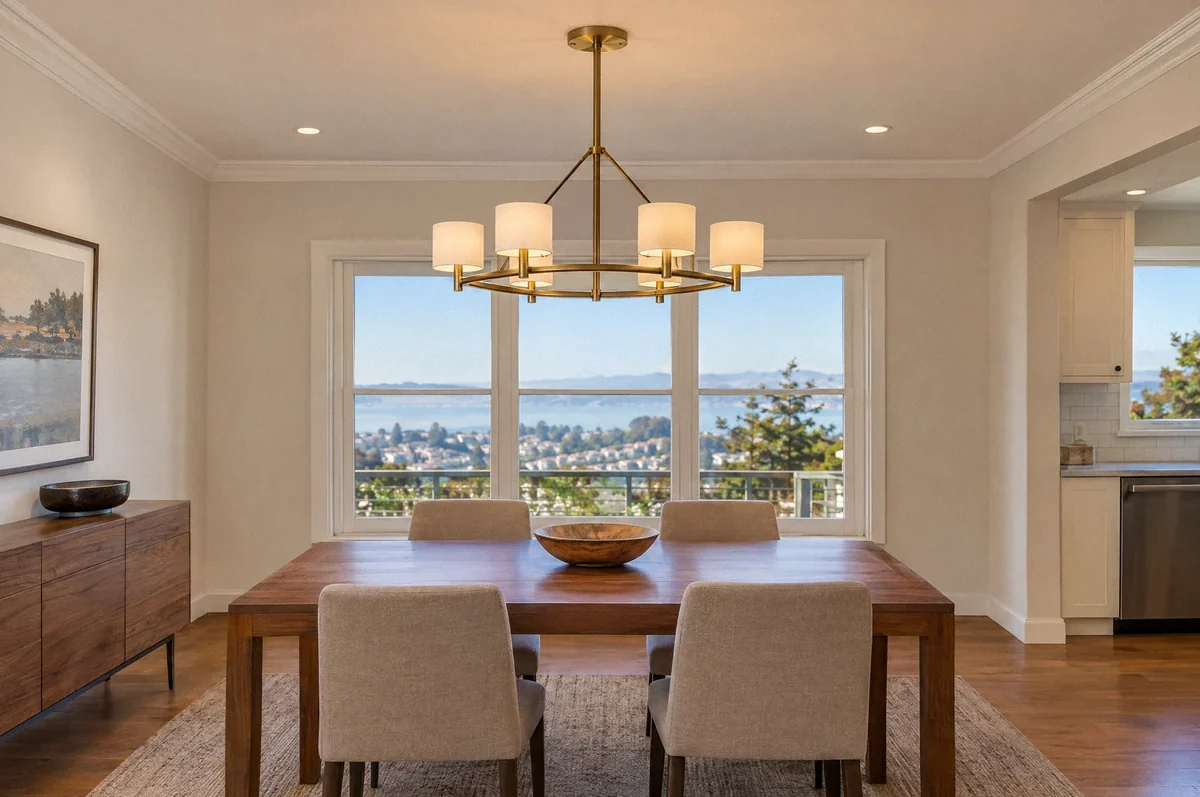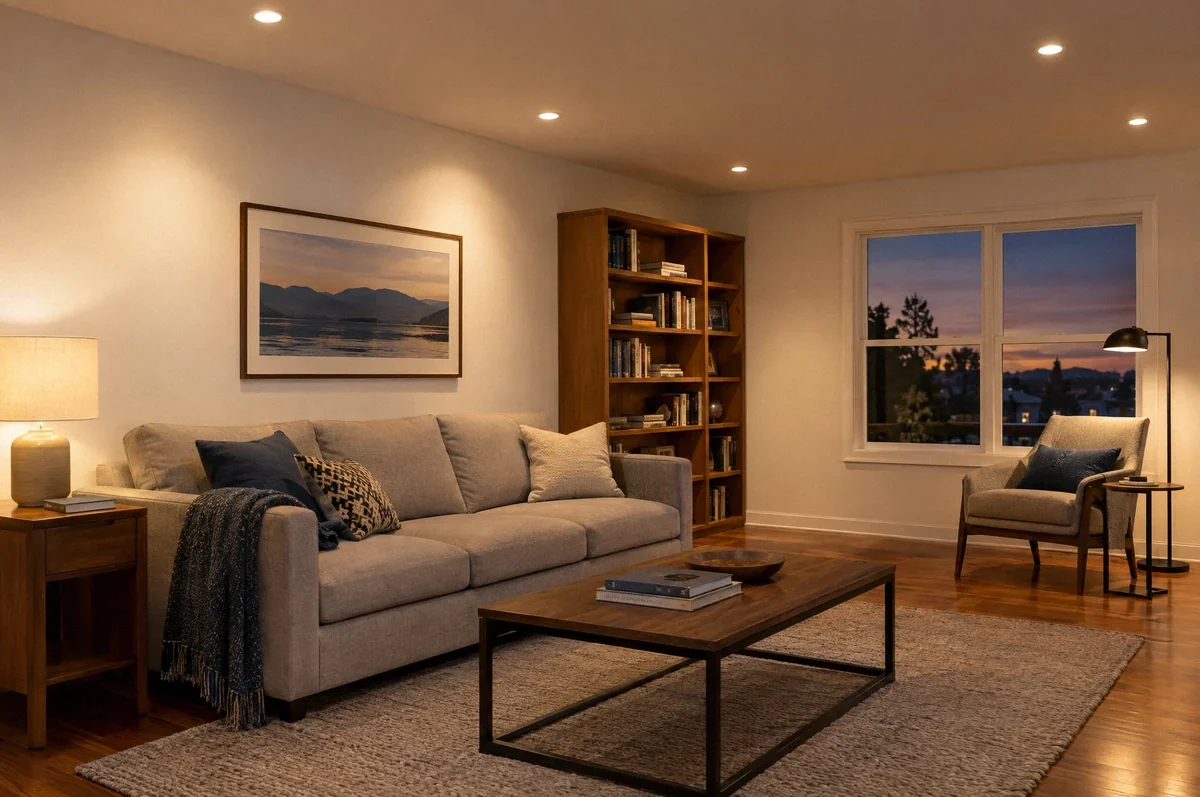
Recessed lighting works best when the layout follows how you use the room. The number of fixtures is only one part of the decision. Their location, beam shape, brightness, dimming performance, and the space above the ceiling determine whether the result feels comfortable or harsh.
For a Bay Area home with finished ceilings, the installation also depends on access. A living room below an attic presents a different project from the same room below an occupied second floor. Establish the lighting goal and the cable route before approving a fixture count or an estimate.
Start with the room, not a grid
Mark the furniture, counters, artwork, and walking paths on a simple plan. Then identify what is missing: general light for movement, focused light for work, or softer light in the evening. One evenly spaced grid may not serve all three purposes well.
In a kitchen, light placed behind the person working at a counter can leave their own shadow on the preparation area. In a living room, a bright downlight directly above the usual seating position can be uncomfortable. At a television wall, reflections may matter more than the total brightness.
Think about groups as well as locations. You might want the perimeter lights dim while a reading lamp stays bright, or separate control of a kitchen work area and dining space. Those preferences belong in the wiring plan. They are harder to accommodate after every new light has been connected to the same switch.
Our lighting design and installation service starts with these practical uses. A chandelier or pendant can also be part of the solution; recessed fixtures do not need to provide every kind of light.
Compare the light you will see
The visible trim size does not tell you how a fixture will illuminate a room. Compare the specifications that affect the experience:
| Detail | What to consider |
|---|---|
| Light output, measured in lumens | Whether the fixture produces enough useful light for its location |
| Beam angle and optics | Whether it spreads light broadly, directs it toward a task, or highlights a surface |
| Color temperature, measured in kelvin | How warm or cool the light appears alongside other lights and finishes |
| Recessed source and shielding | How visible the bright light source is from normal seated and standing positions |
| Dimming range | Whether the exact fixture and control remain stable at the lower levels you want |
| Serviceability | What must be replaced if the lamp, driver, or complete fixture fails |
A sample is useful when the decision affects a whole room. View it against the actual paint, cabinetry, and flooring. A product photograph cannot reliably show glare or how the room will look at a low setting.
If a model offers selectable color temperatures, agree on the setting before installation. Mixing settings unintentionally can make identical fixtures look different.
Housings, canless fixtures, and ceiling construction
A traditional recessed assembly uses a housing above the ceiling with a compatible trim or light module. A canless assembly avoids that conventional housing, but it still needs space for its components and a compliant connection method. Some models have a separate driver and junction box; others integrate these parts. Cooper Lighting’s HALO product information illustrates why mounting and insulation ratings must be checked by model, not assumed from the word “canless.”
The electrician needs to identify joists, insulation, ducts, plumbing, and existing wiring before finalizing the openings. A very thin visible fixture does not make every ceiling location usable. The connection enclosure must remain accessible by an approved method, and the product must suit the ceiling assembly.
An insulation-contact rating, often shown as IC, addresses the conditions under which a fixture may contact insulation. An airtight rating addresses air leakage. These are different properties. Neither label alone establishes suitability for a fire-rated ceiling, a wet location, or every insulation system.
In a plaster ceiling, the scope should address how openings are made and finished. In a multiunit building, the ceiling may also separate dwellings and require coordination with the building’s approved assembly. Access and restoration should appear in the estimate instead of being treated as incidental details.
Match the fixtures and controls together
An LED marked “dimmable” is not a promise that it works well with every dimmer. The control method, load range, fixture count, and manufacturer compatibility information all matter. A driver is the component that supplies the electrical conditions an LED needs; its dimming requirements may determine the control choice.
For new lighting, select the fixture and dimmer as a combination. Test full brightness, startup, the low end, and operation from every control location before repeating the combination across the house. If an existing circuit already flickers or loses power, arrange electrical troubleshooting before treating the symptom as a product-selection problem.
For app control and schedules, see smart lighting and dimmer choices. A smart control adds requirements beyond ordinary dimming, including the specific wiring and supported system.
California requirements belong in the selection process
The California Energy Commission’s 2025 residential lighting guidance addresses qualifying light sources, controls, and exceptions. The applicable requirements depend on the building type and scope of work. Choose equipment against those requirements before purchasing a whole set.
Ask who will confirm the permit path, document the selected equipment, and coordinate any inspection. A fixture advertised as “Title 24” does not establish that every aspect of its installation complies. An existing permit may also have a different governing code edition from a newly submitted project.
What a useful estimate should describe
The scope should identify the selected fixtures or an explicit allowance, the planned locations, control groups, circuit work, and the expected access method. It should also say whether patching, texture matching, painting, insulation work, and work on a rated ceiling are included.
Discuss what happens if an opening reveals an obstruction or damaged wiring. A clear adjustment process is more useful than a promise that no ceiling will need repair. If the lighting is part of a kitchen remodel, coordinate the electrical layout with the final cabinet and appliance drawings before rough-in.
Before the installation visit
Send a room photograph, rough dimensions, ceiling height, and any fixture links you are considering. Explain which activities need better light and whether there is accessible space above. Keep the work area clear and identify rooms that must remain usable during the work.
After installation, review the lighting from normal positions in the room, including at night. Confirm the control groups, color settings, and low-end behavior while the choices can still be discussed with the installer. Keep the model numbers and manuals for future replacements.
To plan recessed lighting for your home, request a lighting assessment with the room details and the result you want to achieve.